Surface preparation. Are you ready to tile?
You spent hours picking out tile. You scoured showrooms, pinned design inspo, and finally landed on the one. Maybe it's a herringbone backsplash for your kitchen, a bold statement wall, or a serene floor for your dream bathroom. But months later, the cracks start showing.
Grout lines split. Water leaks through the shower wall. A hairline crack runs across your kitchen floor.
Here’s the truth most people miss: beautiful tile starts beneath the surface. Without solid prep, even the most expert installation can crumble.

Why Tile Preparation Is Everything
You wouldn’t build a house on shifting sand. So why tile on an uneven, unstable surface?
-
Homes Settle. Walls and floors shift ever so slightly, especially in new builds. Without a buffer, tiles and grout lines can’t handle the stress.
-
Water Finds a Way. In bathrooms and kitchens, moisture is relentless. Skip waterproofing, and you’re one leak away from mold or subfloor rot.
-
Flaws Show Through. Even minor dips in the wall or floor will stand out, especially with small-format or glossy tile.
-
Lasting Work Starts Beneath. A properly prepped surface keeps your tile pristine for years, not just until the next season change.
Prepping for a Kitchen Backsplash: Don’t Skip the Details
It’s a small area, but backsplash errors are easy to spot and hard to fix.
-
Check the Wall: Use a level. Any bump or sag will show behind tile, especially mosaics.
-
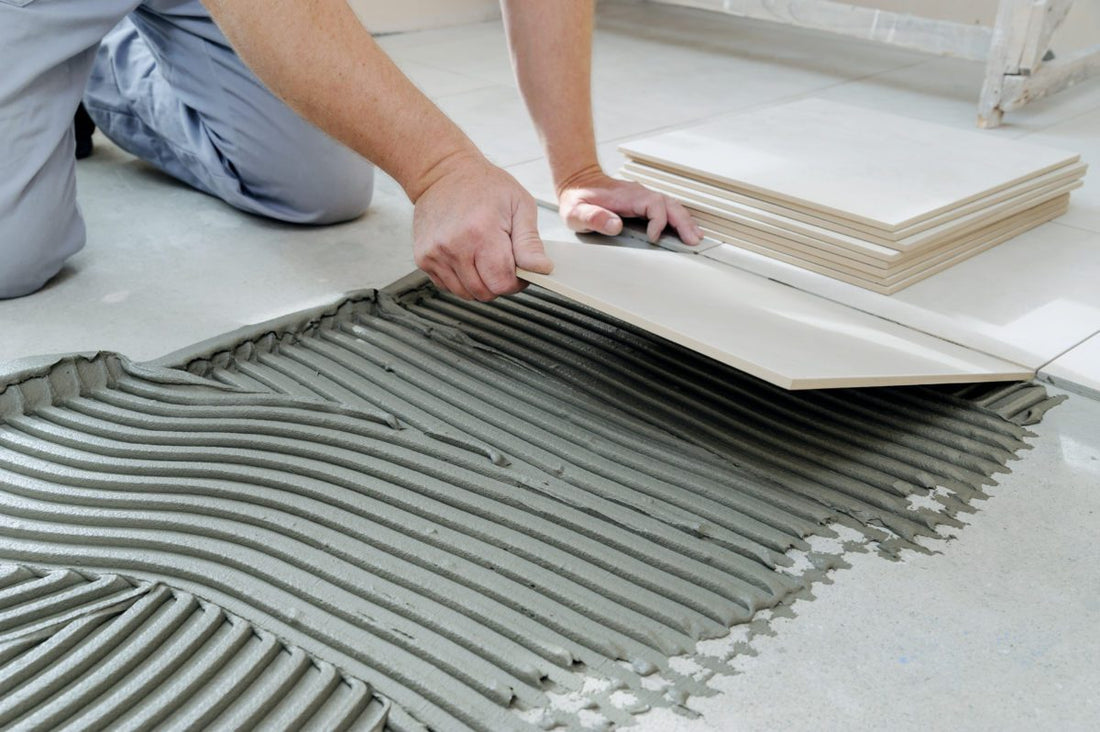
Flatten with Thinset: Mix to a peanut-butter texture. Skim it on with a trowel to smooth the surface before you start tiling.
-
Tape All Seams: Use mesh tape over cement board joints to prevent cracks from forming along those lines later.
-
Caulk Before Grouting: That little line between your tile and countertop? Use grout-matching caulk. It flexes with cabinet movement and acts as a water barrier.

Floor & Wall Tile: Membranes Make the Difference
Most pros use a dry-pack mud bed as a base, but it takes up to 28 days to fully cure. To speed things up and strengthen the substrate, use a membrane.
Here are the big players:
-
Mapelastic CI: A simple, paint-on crack prevention layer. Best for dry spaces with light movement.
-
Aquadefense: Dual-purpose, anti-fracture and waterproof. Ideal for showers and wet areas.
-
Mapeguard UM: Great if you need to raise floor height slightly or protect against minor movement. Pairs well with underlayment.
-
Mapesonic 2: A premium choice. It blocks cracks, water, and sound. Ideal for multi-level homes or where peace and quiet matter.
Cement Board Installers, Take Note
If you’re using cement board, don’t skimp on reinforcement:
-
Tape and embed every inside and outside corner.
-
Mesh all seams before tiling.
-
Allow all membranes to cure completely. Cutting corners here is a recipe for failure.

Final Thoughts: Lay the Groundwork for Long-Term Success
Tile work isn’t just about laying pretty patterns. It’s about what lies beneath. With the right prep, you’re setting your tile (and yourself) up for long-term success.
No cracks. No leaks. Just solid, stunning tile work.