
The most overlooked part of an installation, whether it's a kitchen backsplash, floor install, or major bathroom renovation, is the preparation. Your building your dream home and picked out all the tile, your beautiful master bath, just the way you pictured it! Fast forward 3 months after the move in and because the house is settling your grouted inside corners are cracking, there's a massive crack down the middle of your beautiful kitchen floor, your second floor bath is leaking into the first floor, and the corner part between your counter top and backsplash seems like the grout is coming out. Now this seems like a nightmare and of course a worst case scenario, but everything I mentioned and more can absolutely become a reality. Okay, so how do we avoid these issues or better yet, how do we prepare to minimize everything I mentioned?
Preparation for kitchen backsplash: First make sure your walls are all plumb and level. If there are any creases in the walls it will show in the tile, especially when using a mosaic. Using the flat part of the trowel, go over any creases with tile-mortar and make sure the mortar is mixed well and not too watery. It should have a peanut butter like substance to it. Now your tile board or wall substrate should have joints where the substrates meet. Those joints should be meshed with the same mortar in order to prevent cracking on the tile or mosaic surface, especially at grout joints. Now your backsplash is ready for installation.
*Tip: Use a matching grout caulk between the tile and the counter to prevent any cracking that happens with natural settling of kitchen cabinets. Also its a great way to water seal behind the kitchen faucet.
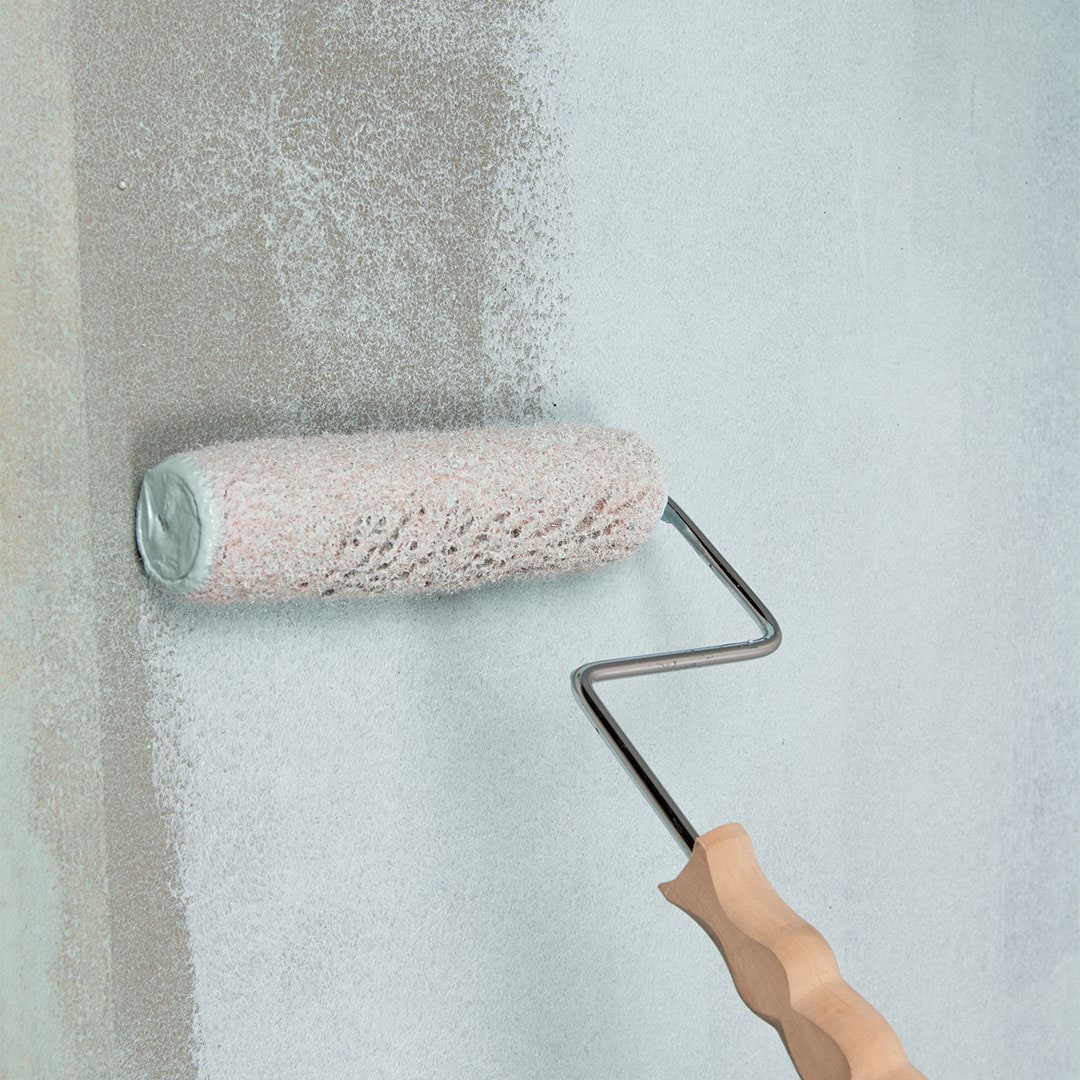
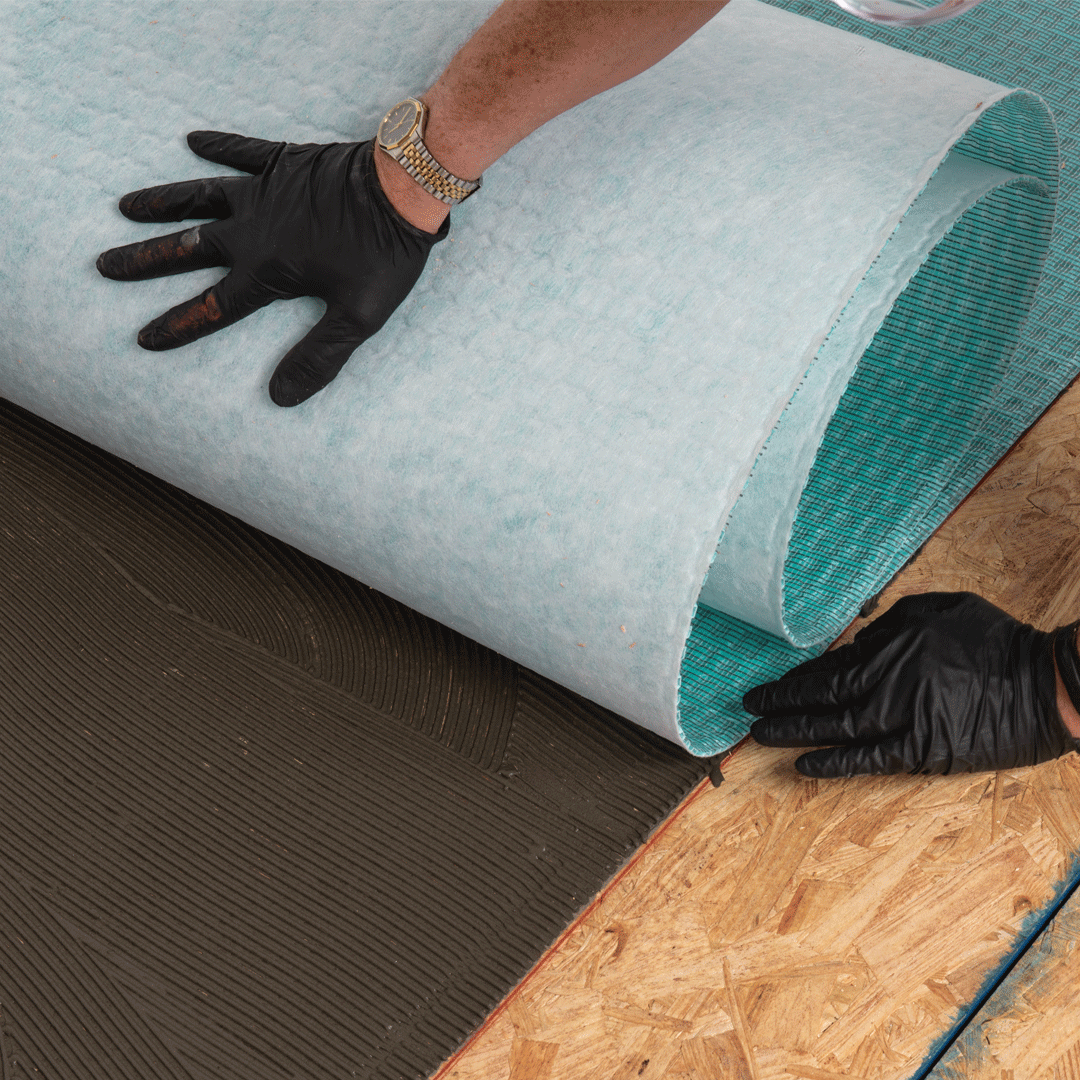
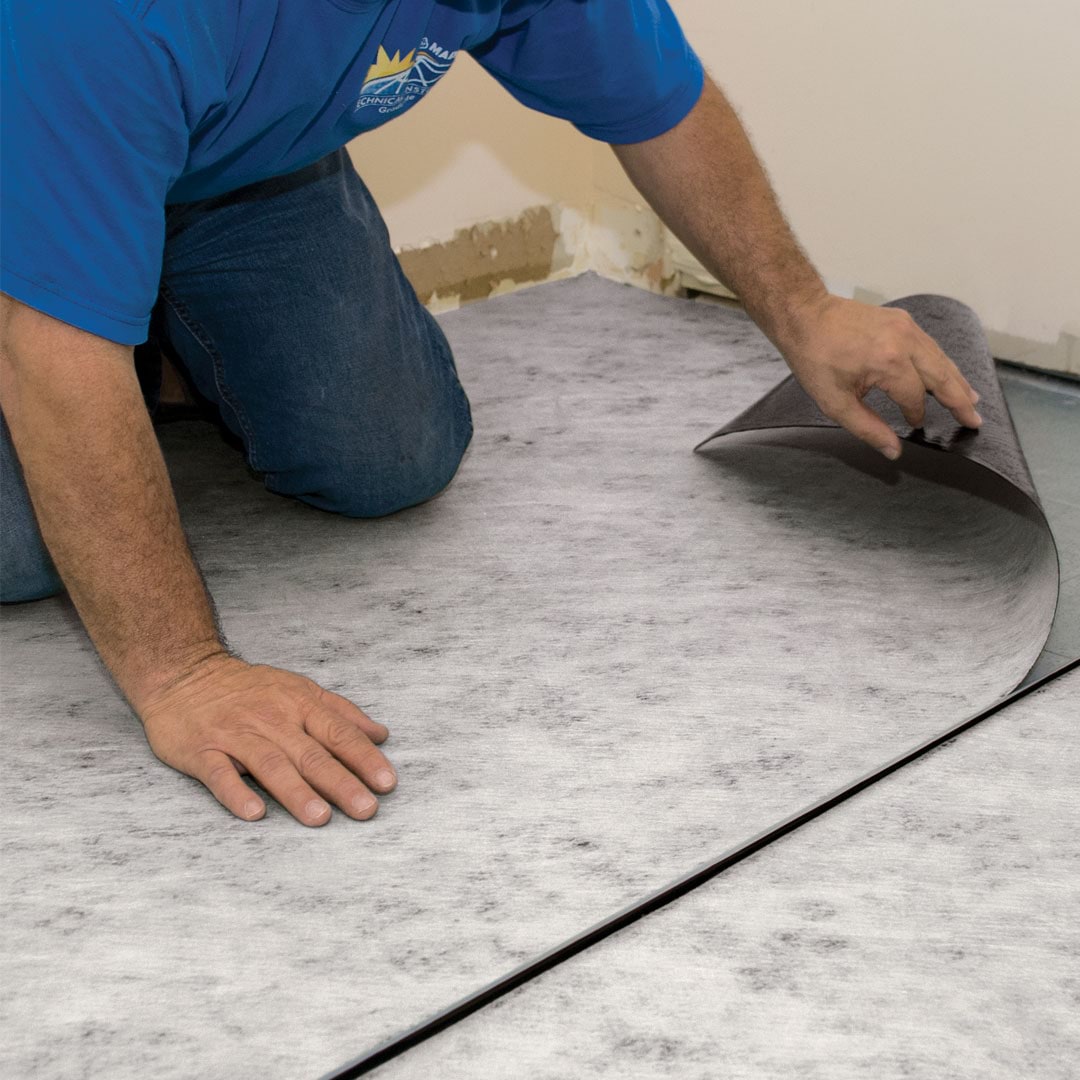
Preparation for floor and wall install: Most tile, stone, porcelain, and mosaic floors are installed over dry-mud, but dry mud settles. It takes 28 days for cement to fully cure and that is assuming the temperature of the house is at least 55 degrees or above. To speed up install on a secure floor, here a several products you can use. The first product, Mapelastic CI, is a paintable anti-fracture liquid membrane. This is a rubber like liquid that gets installed over the mud bed with a paint roller. 2 coats are highly recommended. Another similar product, Aquadefense, acts as a antifracture membrane and a waterproofing agent. This is great for bathroom floors, shower floors and walls, and all wet areas. Highly recommended. Another product I recommend to install with tile-mortar over the mud bed is Mapeguard UM. This product is an antifracture and waterproofing membrane. Also, it's great if you need to raise the floor height but minimize the tile-mortar usage. The joints need to be meshed after install with MapeguardST. The final product that I recommend is called Mapesonic 2. This membrane is very versatile. It acts as a antifracture, waterproofing, and sound reduction agent. It sticks basically to any surface, even to already tiled surfaces, which will help in reducing demolition costs. Great for high rise city apartments and all new and old construction. Probably the most expensive but the absolute best option of all mentioned above.
*Tip: Make sure all outside and inside corners of the cement board and all joints are meshed with fiber tape and installed with Tile-Mortar.
So there you have it, if you follow any of my recommendations for tile preparation, you are now ready to tile in a more secure and crack free environment. Look out for my next blog on heated flooring!