
Ever wonder how designers and stores come up with flat lays for their products for Instagram and Pinterest? Well its easy by just following some simply tricks!
Since we are an online tile store, flay lays can help us showcase multiple products at once, while still helping you (the customer) create a design using what you see in the flat lay or even allowing you to create you own idea from ours!
Here is are the steps I take to create the flat lays you may see on our own Instagram and Pinterest!
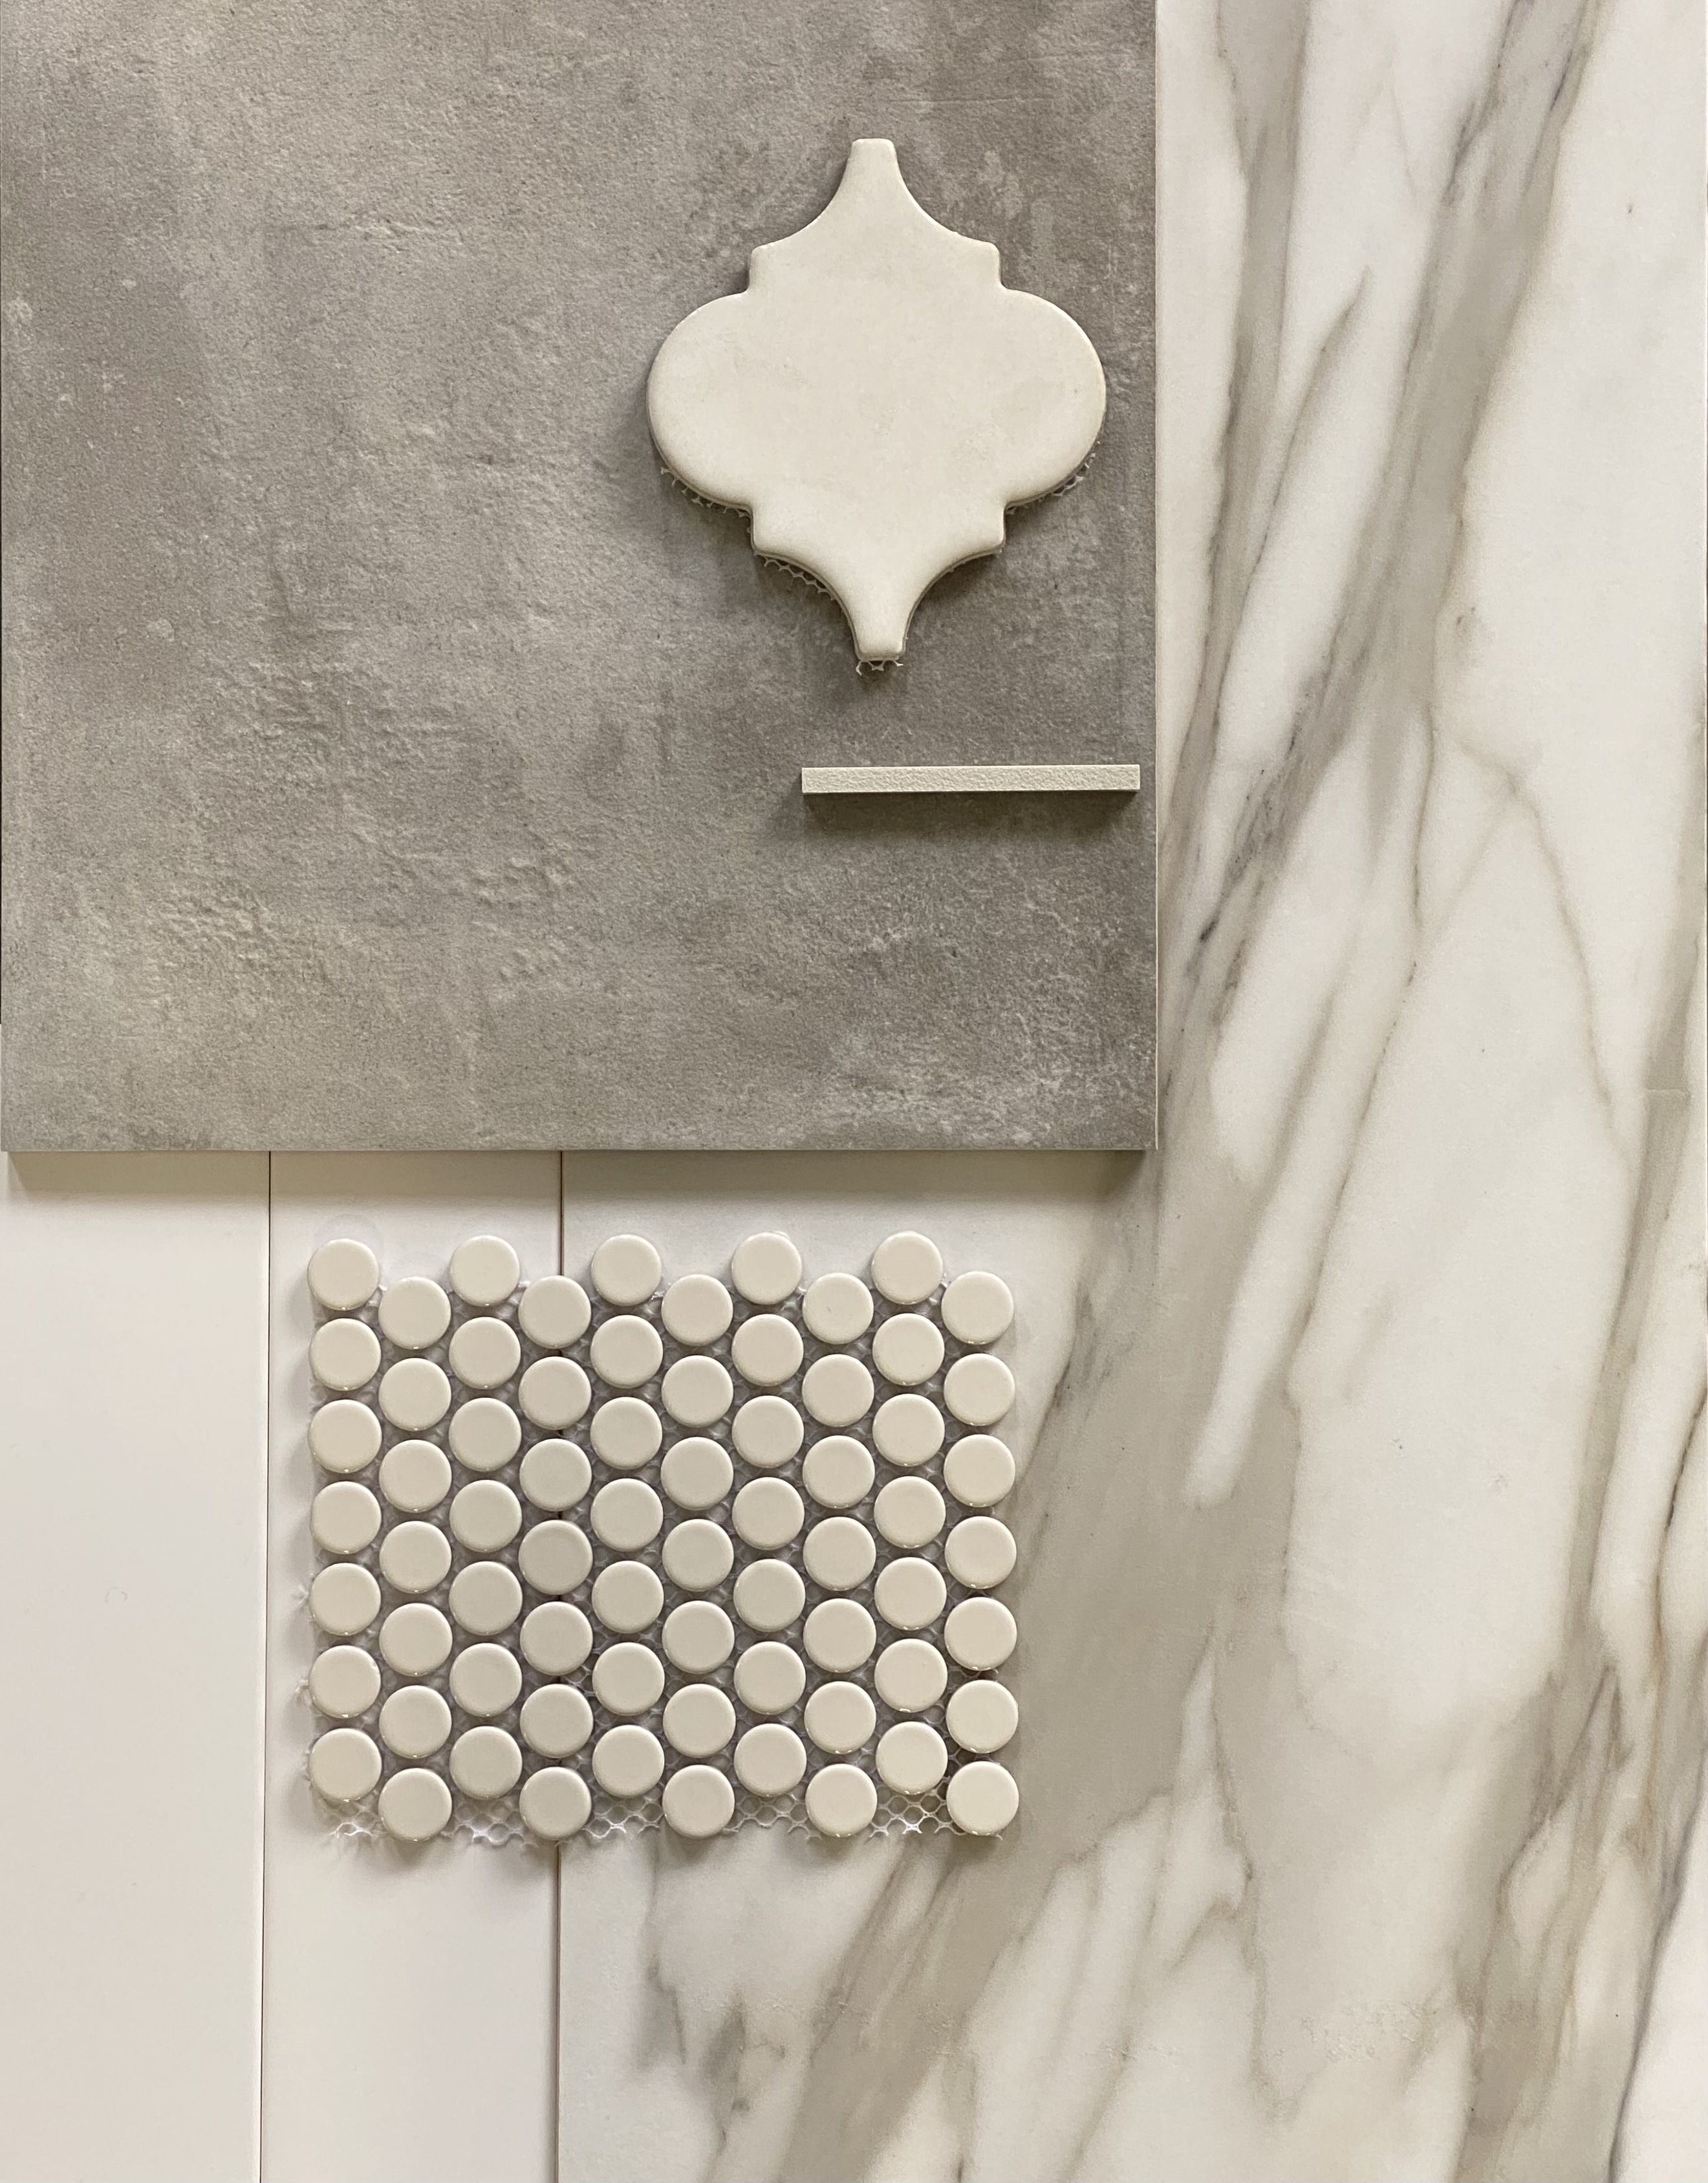
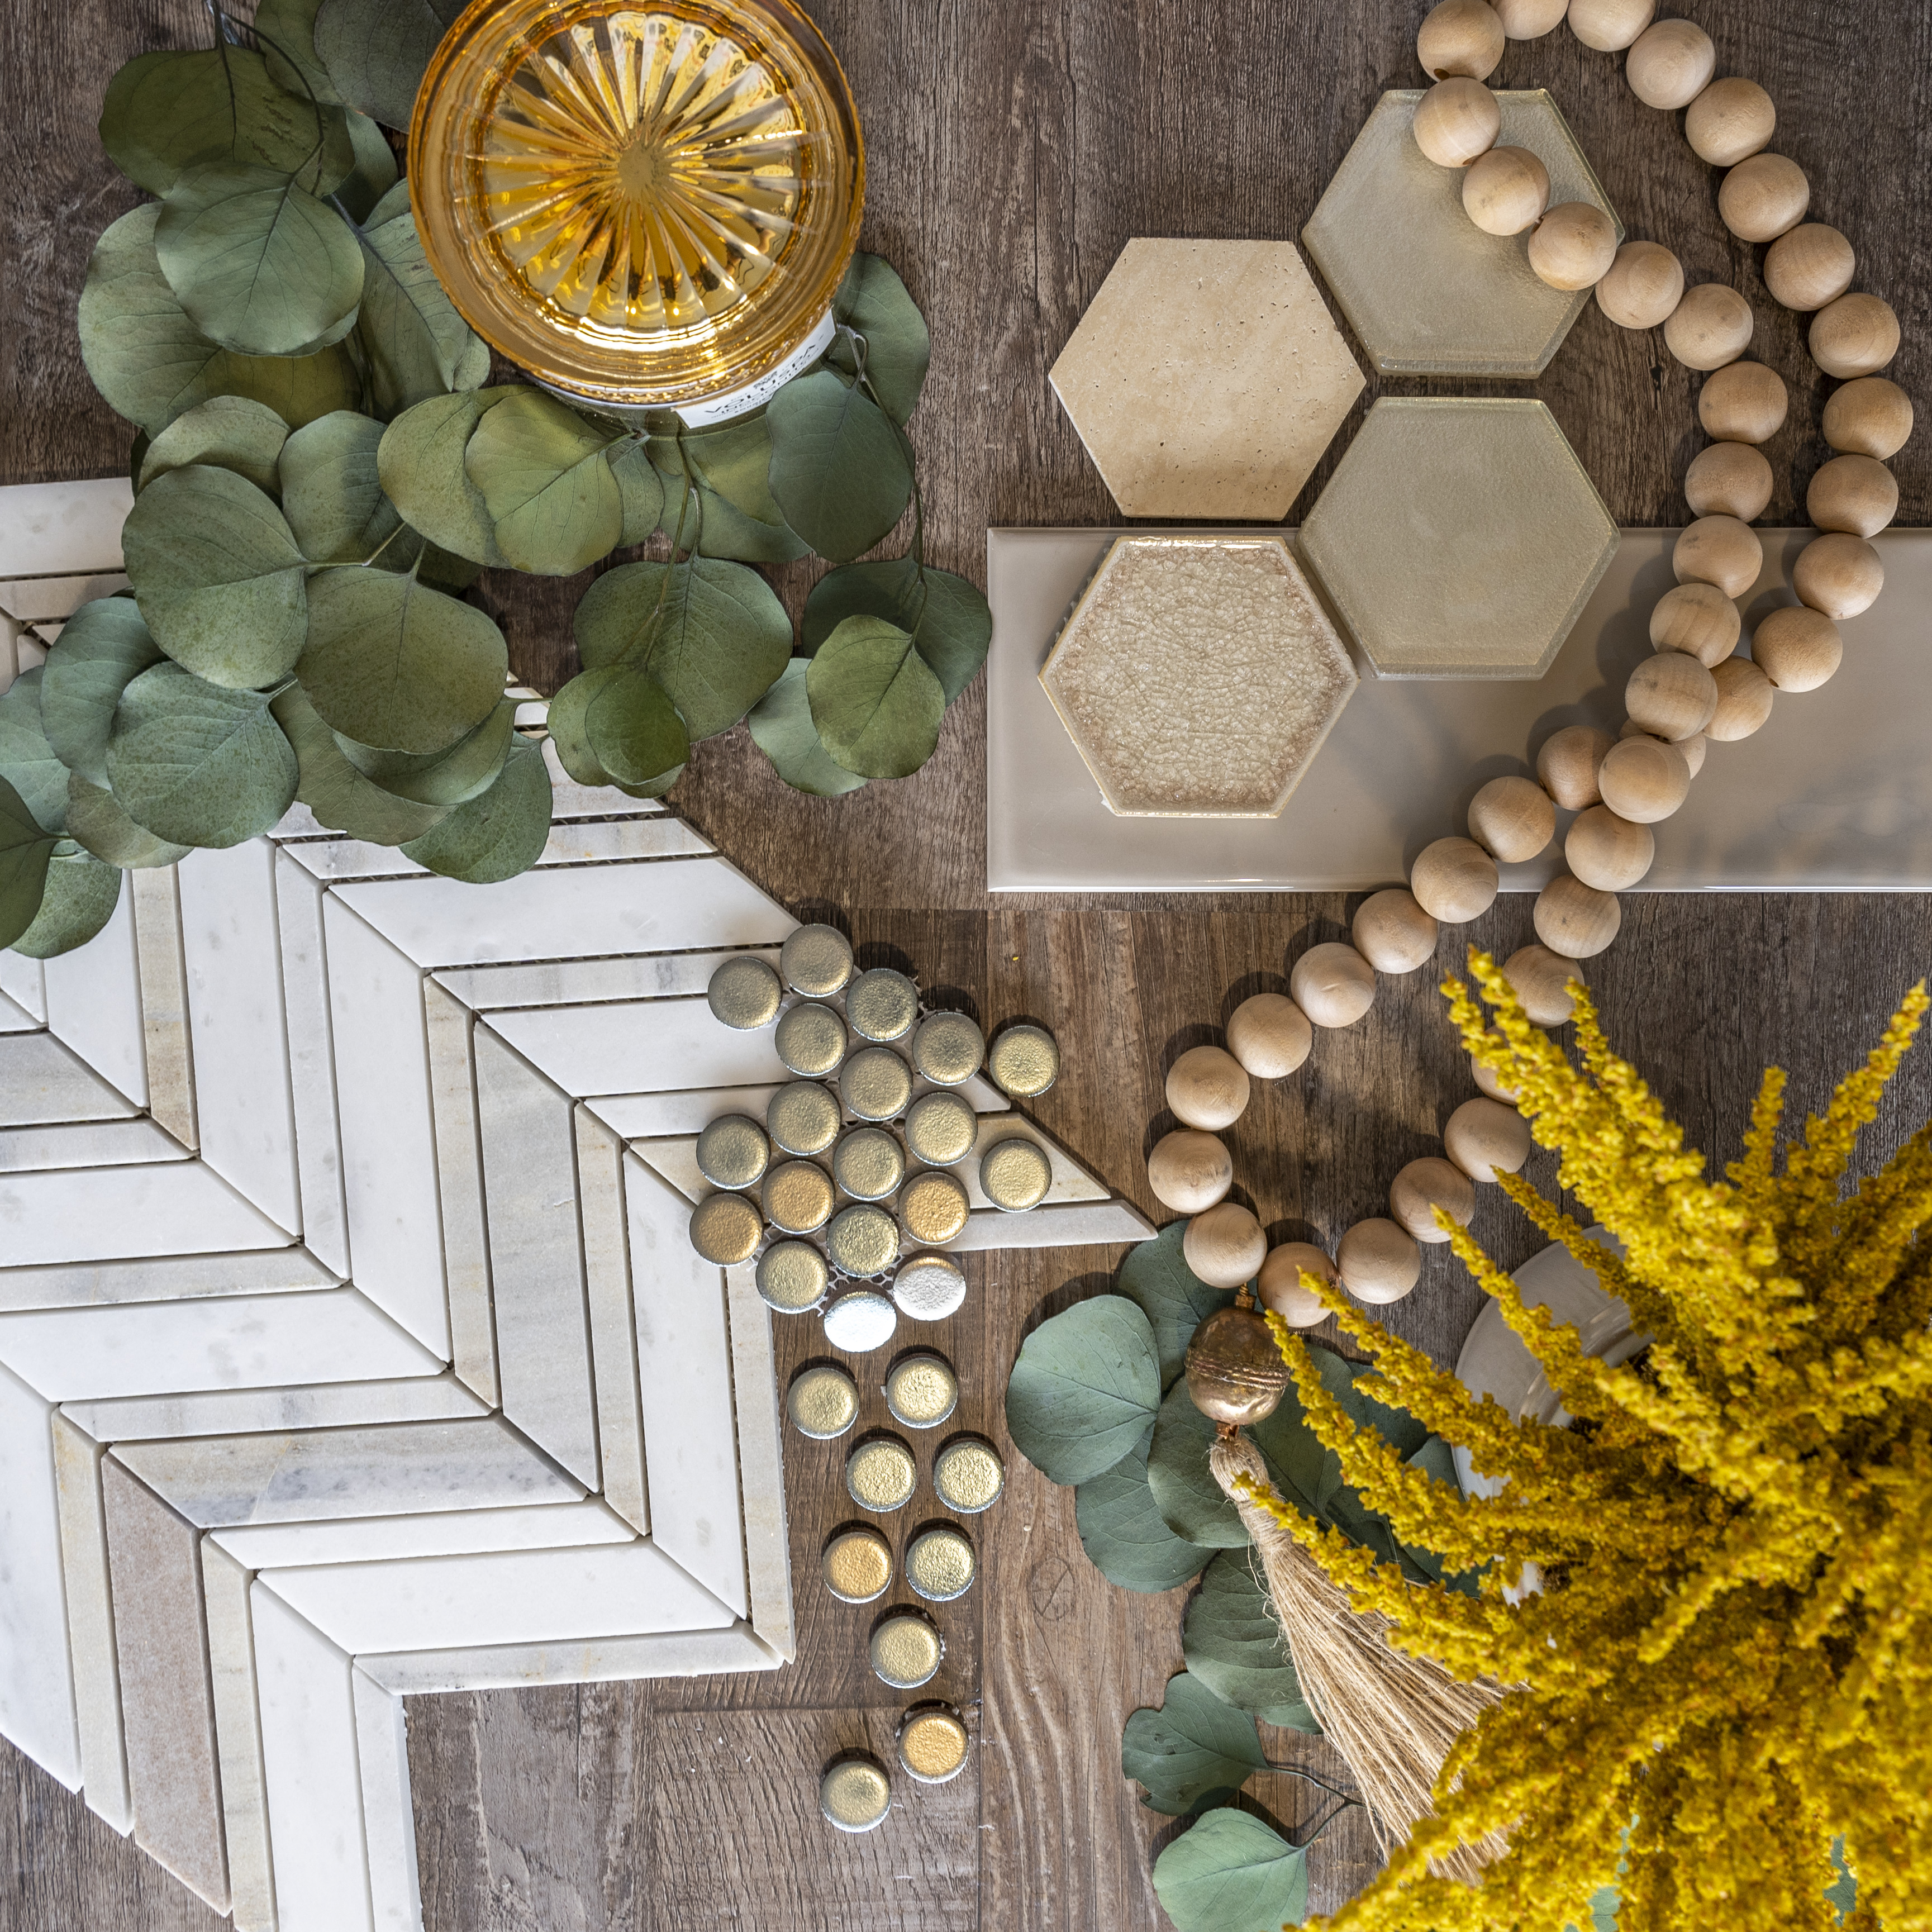
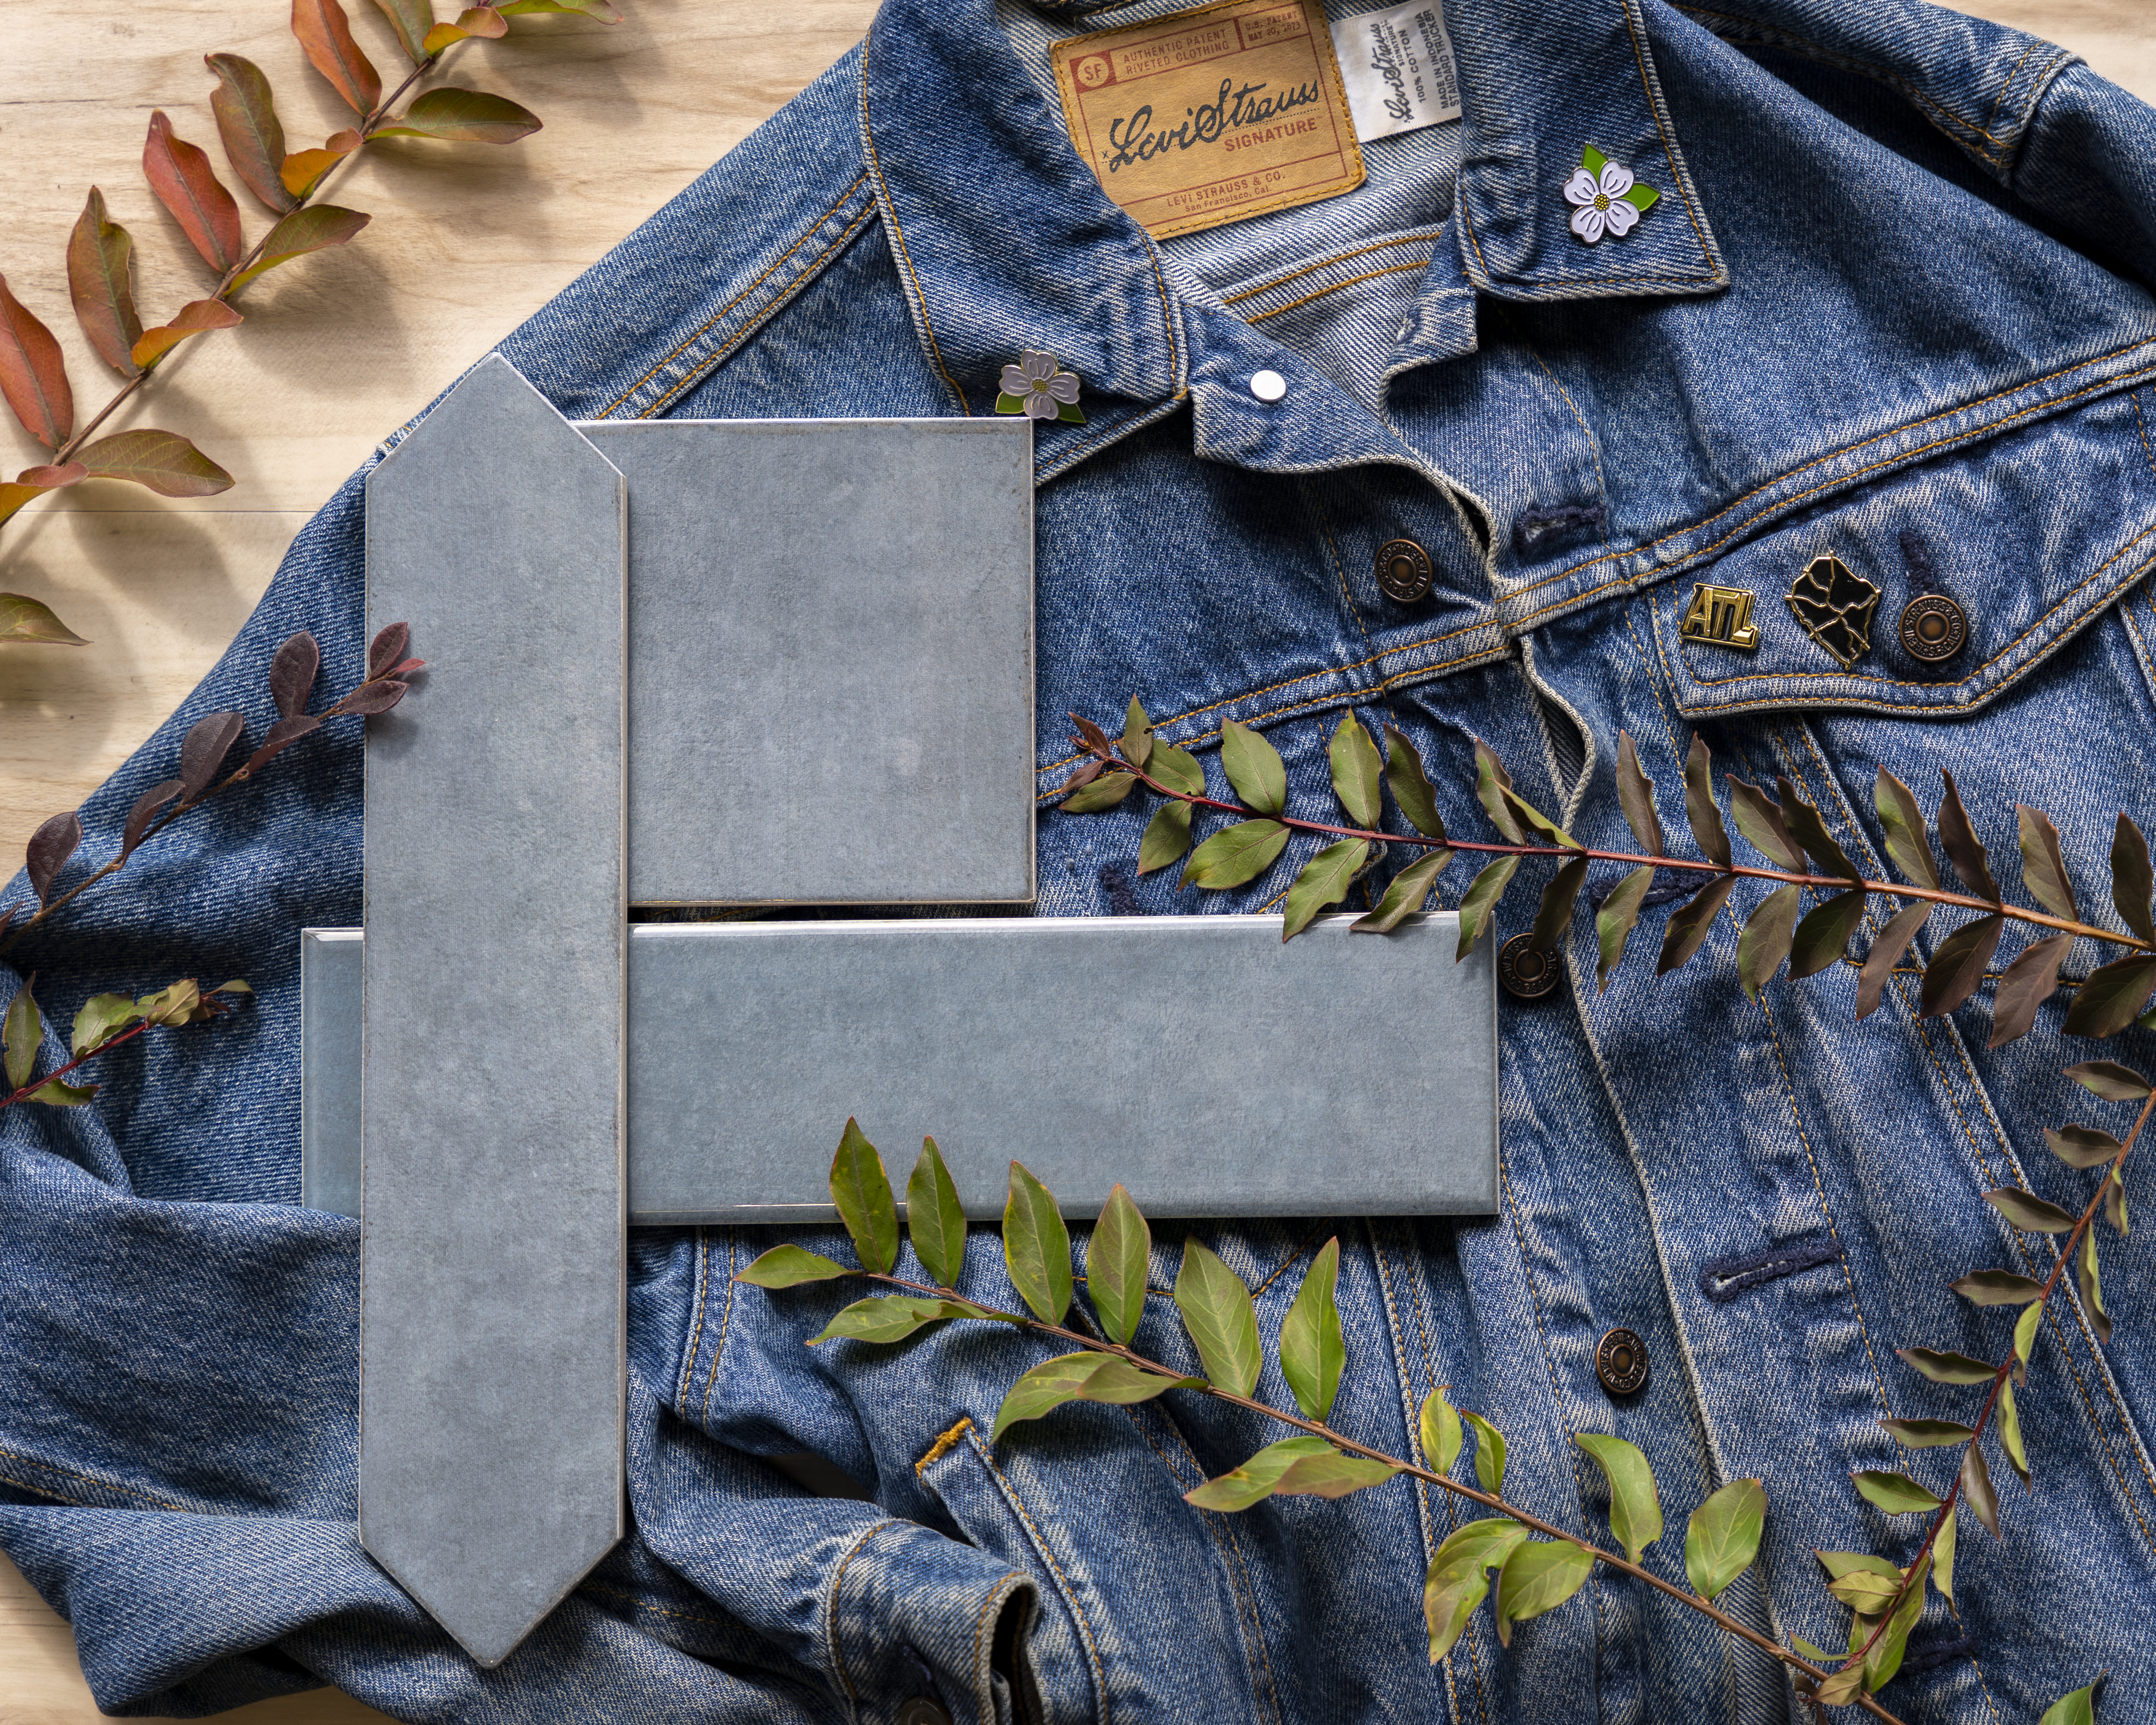
1) Choose a background: Usually I choose the main tile I want to use for the design. Most likely a larger tile or field tile that can be used for the floors and possibly as a waynes coat depending on the design I am working on.
2) Pick a mosaic you LOVE: Since mosaics are used as smaller parts of the design, I pick something that is exciting and will bring life to the design whether that be with the color of the stones used or the overall pattern. This should match your main tile to an extend but does not have to be 100% matchy matchy :)
3) Fillers!: When I say fillers, I mean other tiles that compliment or add color or texture to the overall design you are working on. You want these tiles to match the mosaic you pick and the main tile. Most of the time a good old white subway is my go to for filler tile.
4) Accents: This could be sooo many different things. For example, grout color, paint color, a knob color for the vanity or cabinets, cabinet wood or color swatch, fabric, etc. This is other elements you want to add into the design now that you have your tile flat lay completed.
If you have any questions or would like us to create a custom flat lay for your next design, send us a request! info@lmphome.com
Happy Shopping!